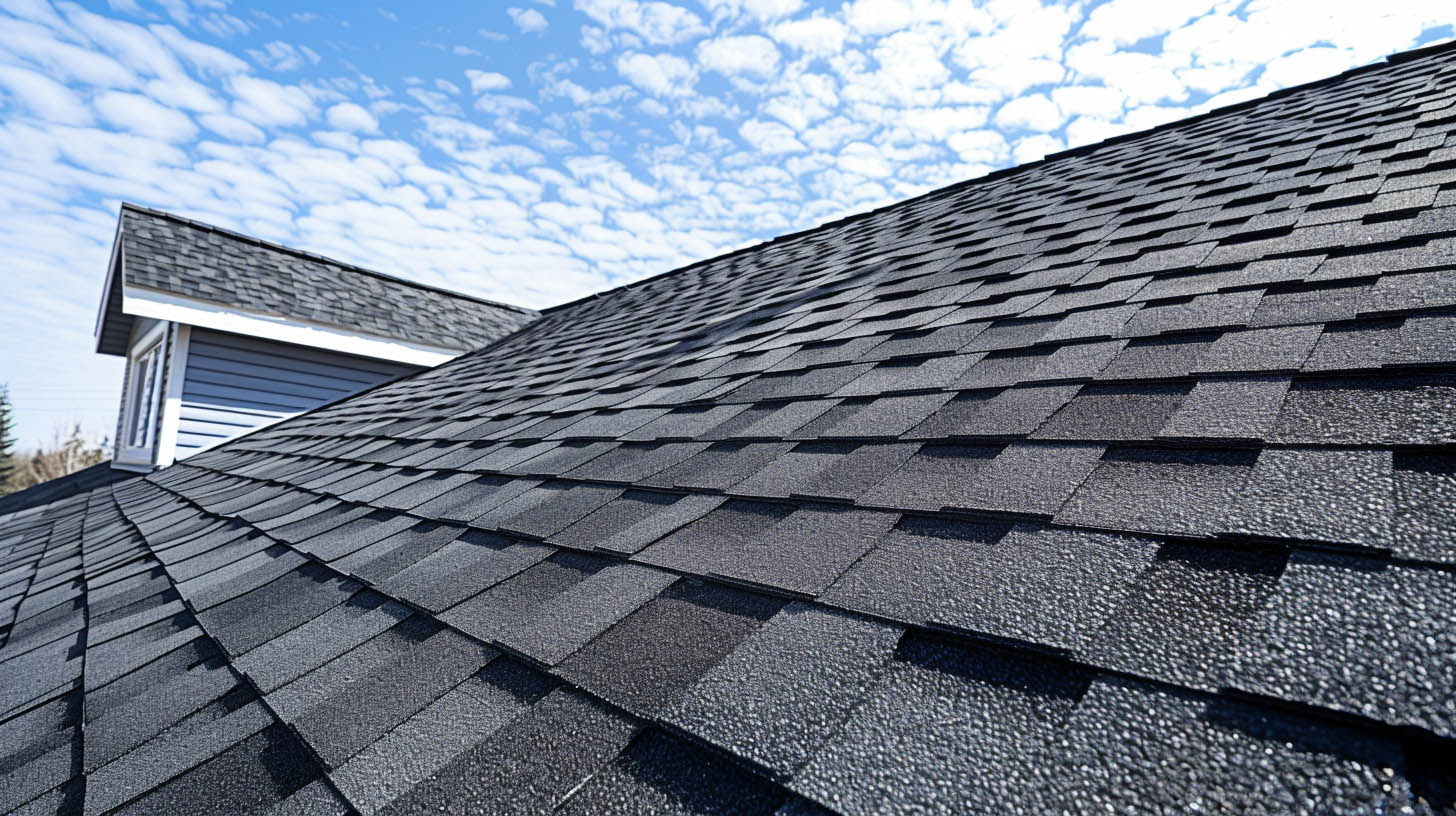
Your Guide to Proper Shingle Installation
Installing new roofing shingles is a critical task that ensures the longevity and durability of your home’s roof. This step-by-step guide aims to assist homeowners in the Indianapolis area with the proper techniques for shingle installation, ensuring a leak-free and aesthetically pleasing result.
Preparation and Safety Measures
Safety should be your first priority. Ensure you have the proper gear: a hard hat, safety glasses, work gloves, and sturdy boots. Working with a partner is recommended for safety and efficiency.
Materials Needed
- Asphalt shingles
- Ice and water protector
- Roofing underlayment
- Roofing nails
- Flashing
- Drip edge
- Hammer
- Utility knife
- Chalk line
- Staple gun
Step 1: Roof Preparation
Before installing new shingles, remove all old shingles, flashing, and other materials. Use a roofing shovel and hammer to carefully remove these materials without damaging the roof deck.
Step 2: Install the Ice and Water Protector
Apply the ice and water protector at the eaves and rakes of the roof. This layer is crucial for preventing water infiltration, especially in the cold and wet climate of Indianapolis.
Step 3: Lay Down Underlayment
Roll out the underlayment over the entire roof, starting from the bottom up. Overlap each layer by at least 3-4 inches. Secure the underlayment with a staple gun, ensuring it lies flat and even.
Step 4: Apply Flashing
Install metal flashing around roof features such as chimneys, vents, and valleys. This helps direct water away from these vulnerable areas.
Step 5: Start with Starter Shingles
Begin at the bottom edge of the roof with starter shingles. These shingles are essential for ensuring subsequent rows are aligned correctly. Use a chalk line to maintain straight rows.
Step 6: Shingle Installation
Place shingles starting from the lower corner of the roof, working your way up and across. Secure each shingle with at least four nails. If you live in a particularly windy area, six nails may be necessary.
Step 7: Fit Shingles Around Vents and Pipes
Ensure vents and pipes are surrounded by rubber boots under the flashing, which prevents water leaks.
Step 8: Cap the Ridge
Finish the installation by capping the ridge with shingles that overlap both sides of the roof, providing additional protection against water ingress.
Conclusion
Properly installing roofing shingles is an exacting process that can significantly impact the longevity and effectiveness of your roof. If you’re in Indianapolis and unsure about tackling this project on your own, consider consulting with professional roofing contractors like Trojan Roofing who can ensure that the job is done right the first time.
For additional details on comparing roofing estimates, click here.

