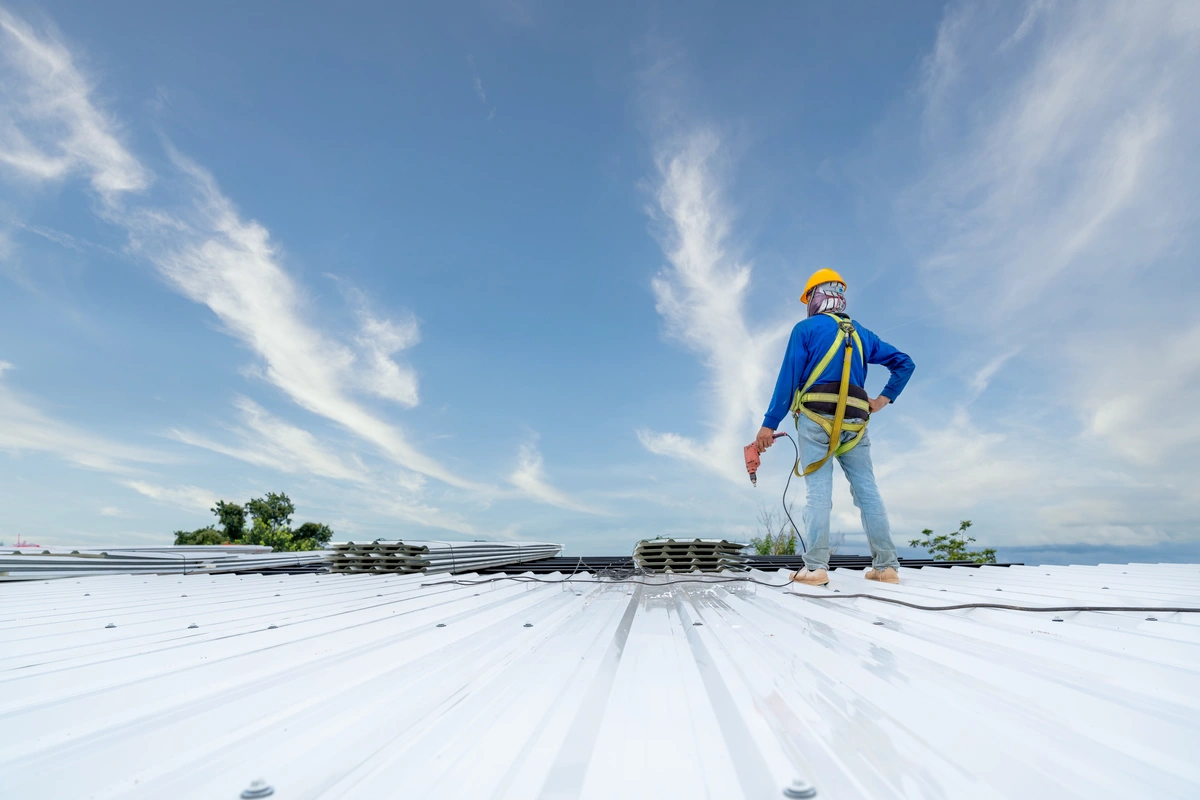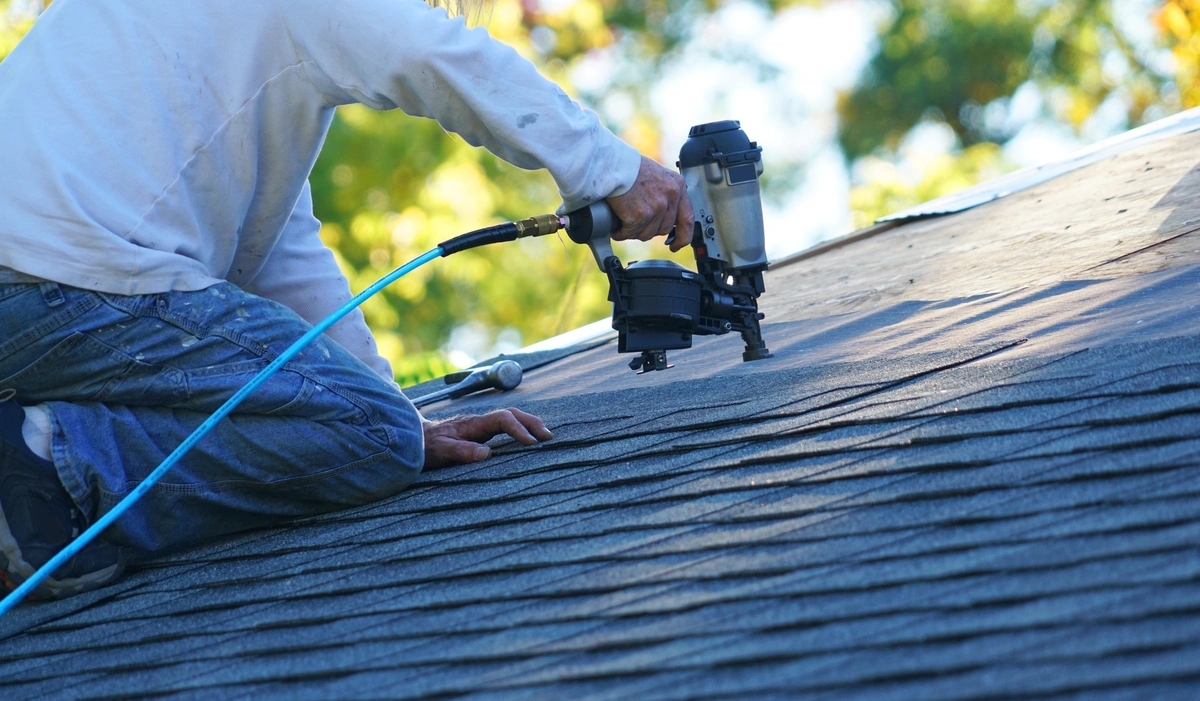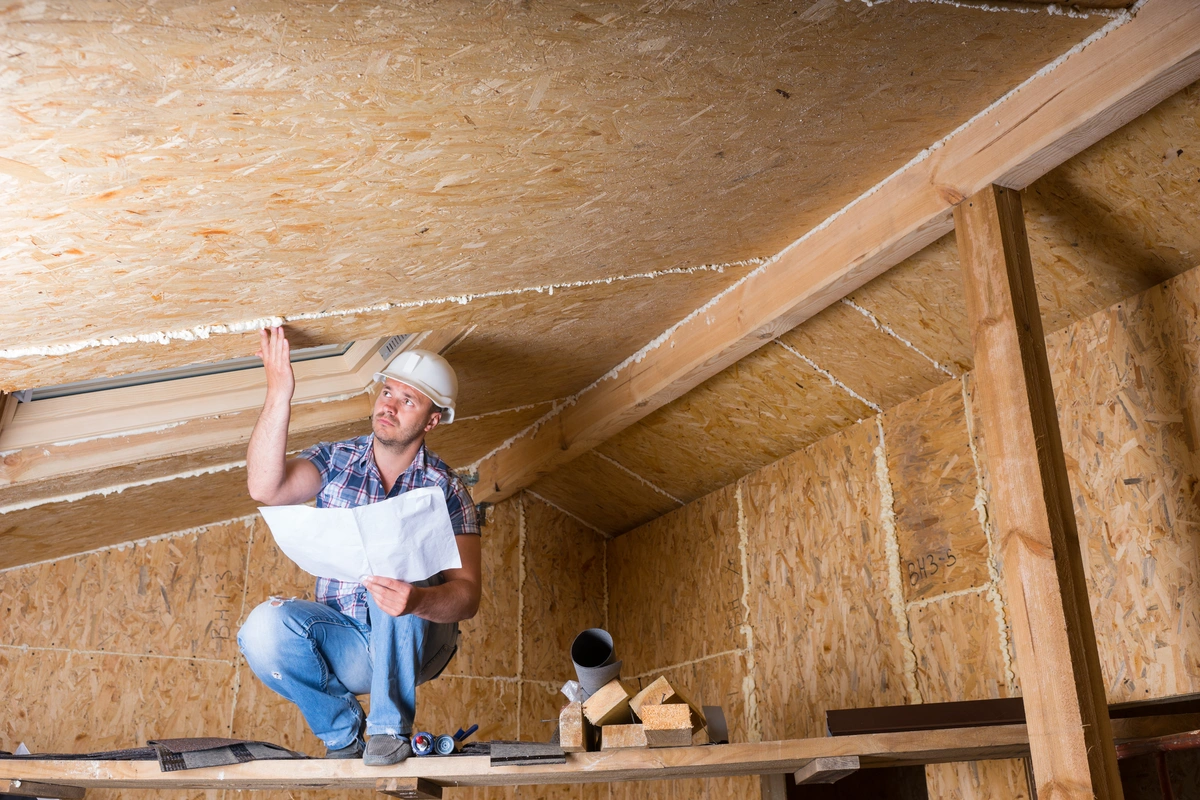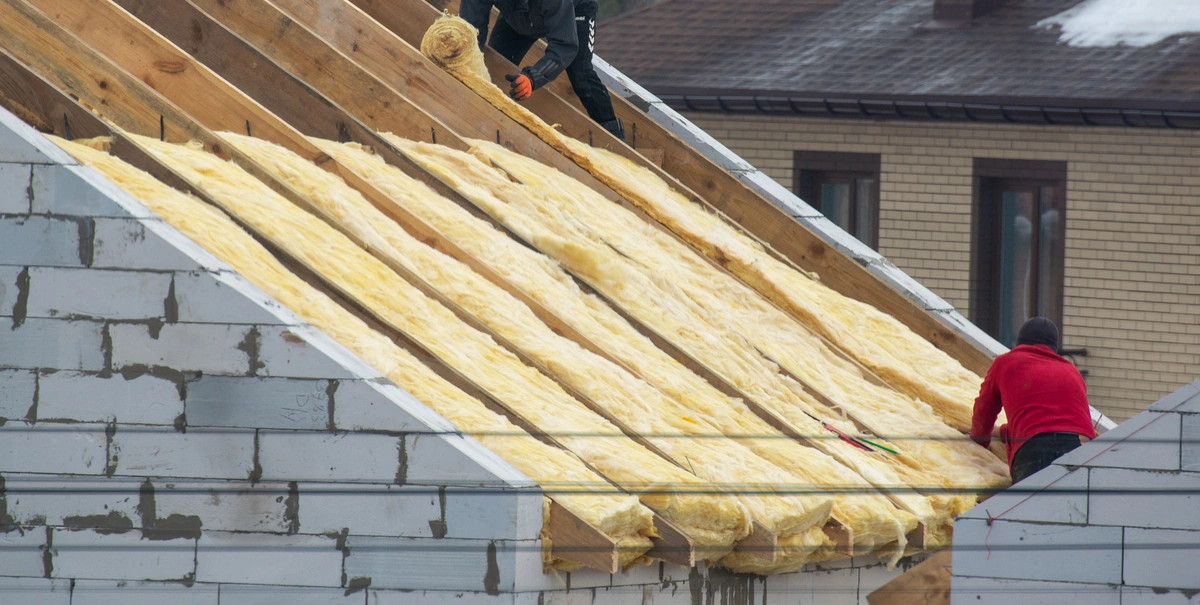
When it comes to home comfort and energy efficiency, few things are as crucial as proper roof insulation. A well-insulated roof can significantly impact your home’s temperature regulation and energy bills.
That’s why today, we’re helping you to understand the importance of roof insulation, including:
- Signs of improper insulation
- The best types of roof insulation along with their pros and cons
- The cost of installing new insulation
The Importance of Roof Insulation
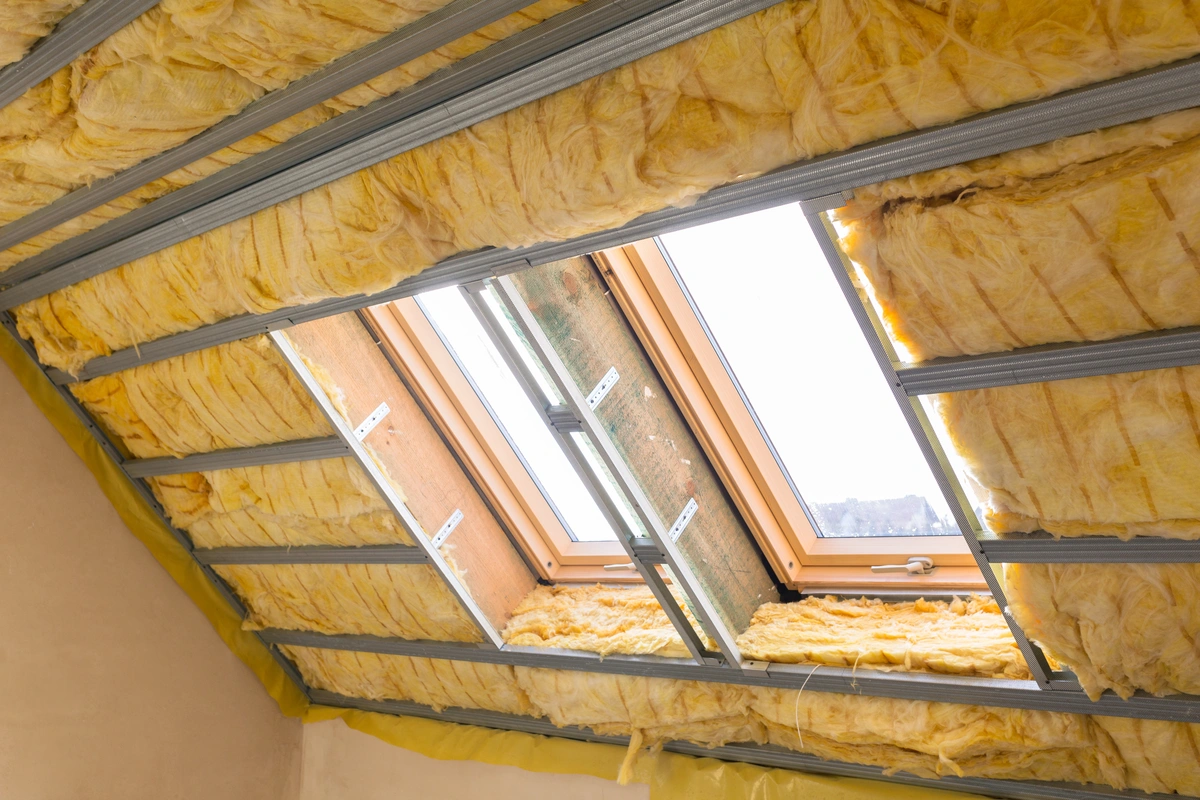
Roof insulation plays a pivotal role in maintaining a comfortable indoor environment throughout the year. Whether you’re experiencing sweltering summers or freezing winters, the right insulation can make a world of difference. Here’s why it’s so important:
- Energy Efficiency: One of the primary benefits of roof insulation is improved energy efficiency. A well-insulated roof prevents heat from escaping during the winter and keeps your home cool in the summer. This means less reliance on heating and cooling systems, ultimately leading to lower energy bills.
- Comfort: Proper insulation ensures a more comfortable living space. You won’t have to endure chilly drafts or uncomfortably hot rooms. It helps maintain a consistent temperature throughout your home, making it a more pleasant place to live.
- Environmental Impact: Reducing energy consumption through insulation also has a positive environmental impact. It lowers your carbon footprint by decreasing the amount of energy needed to heat or cool your home, thus reducing greenhouse gas emissions.
- Moisture Control: Roof insulation helps in moisture control. It prevents condensation buildup, which can lead to mold and mildew issues. This not only protects your home but also safeguards your health.
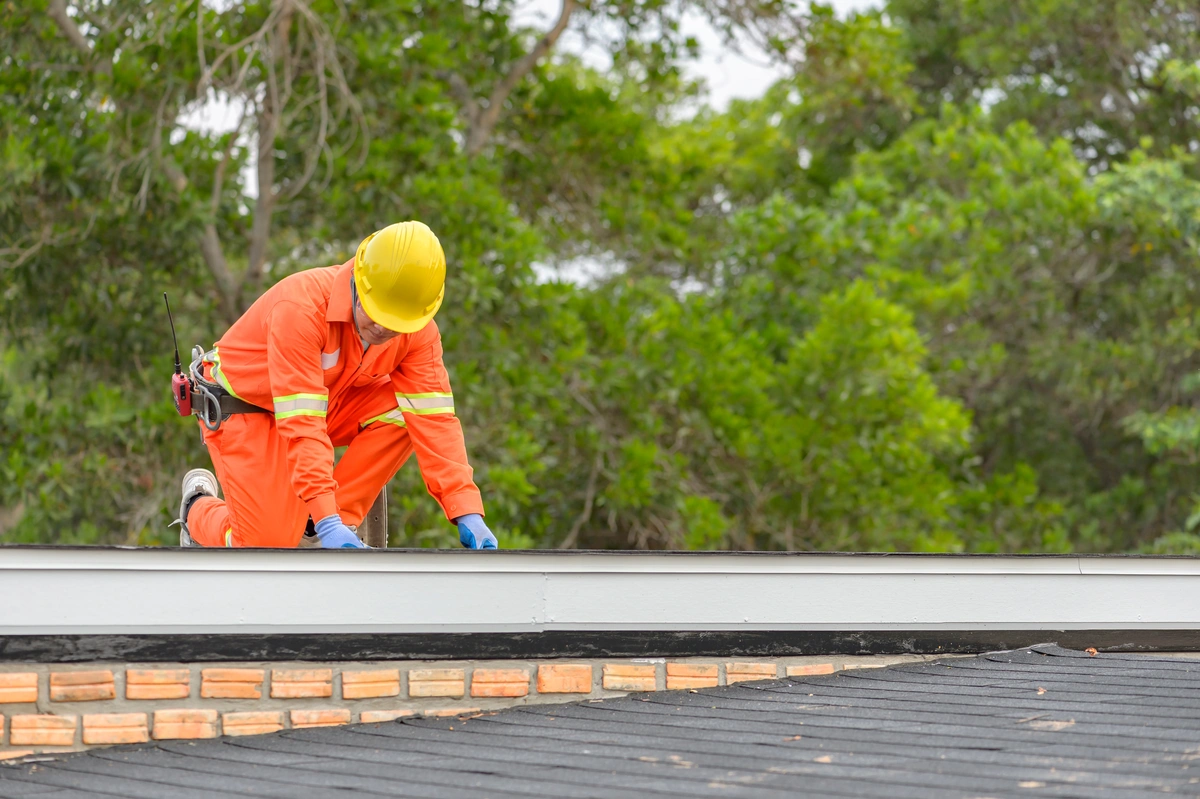
Signs of Improper Insulation
Now that we understand the importance of roof insulation, it’s crucial to recognize the signs of improper or inadequate insulation. Identifying these signs can help you decide if it’s time for an insulation upgrade:
High Energy Bills 📈
If your energy bills are consistently high despite reasonable usage, it could be a sign of poor insulation. Escaping heat or cold air means your heating and cooling systems have to work harder and consume more energy.
Temperature Fluctuations 🌡️
Uneven temperature distribution within your home is a clear indicator of insulation problems. If some rooms are significantly warmer or colder than others, it’s time to inspect your insulation.
Ice Dams 🧊
In colder climates, ice dams can form on roofs with inadequate insulation. These dams can damage your roof and cause leaks. If you notice icicles forming along your eaves, it’s a sign that your insulation might be lacking.
Drafts 🥶
Feeling drafts or cold air entering your home, especially around windows, doors, or the ceiling, is a strong indication of insulation gaps.
Mold and Mildew 🍄
Excessive moisture in your attic or ceiling can lead to mold and mildew growth. If you spot these issues, it might be due to poor insulation and ventilation.
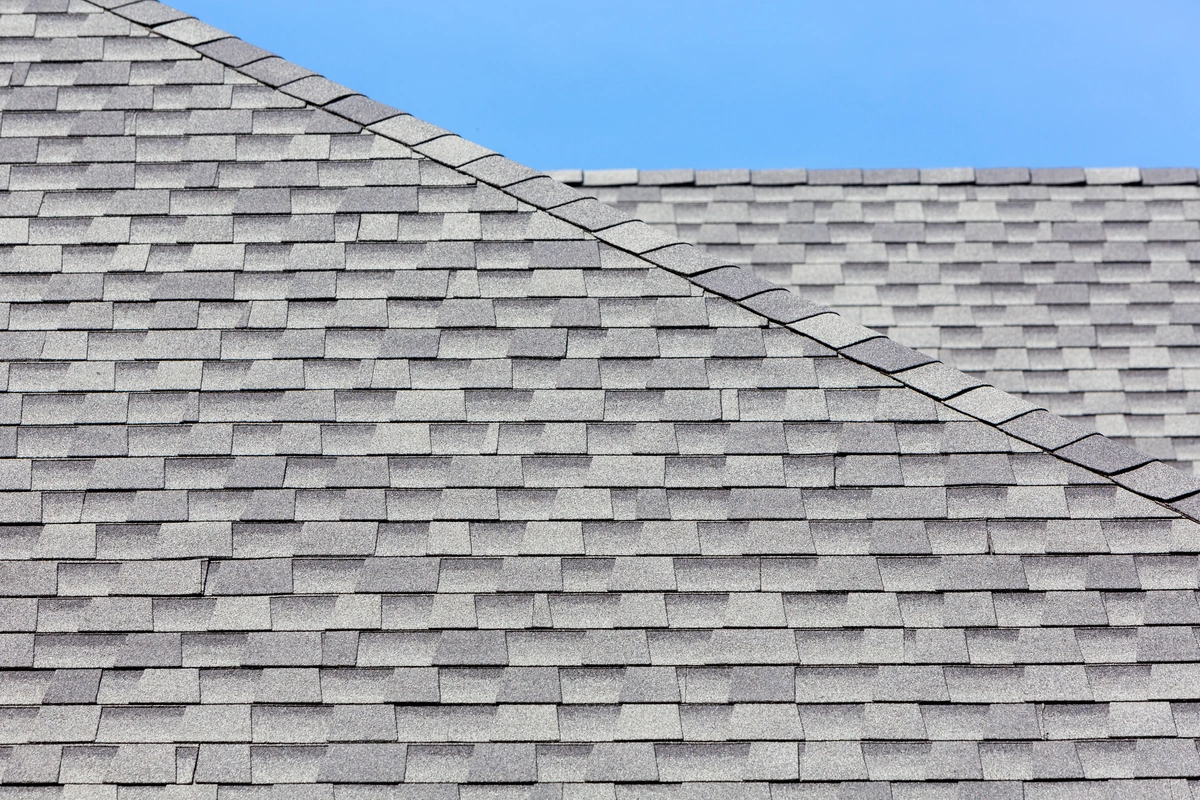
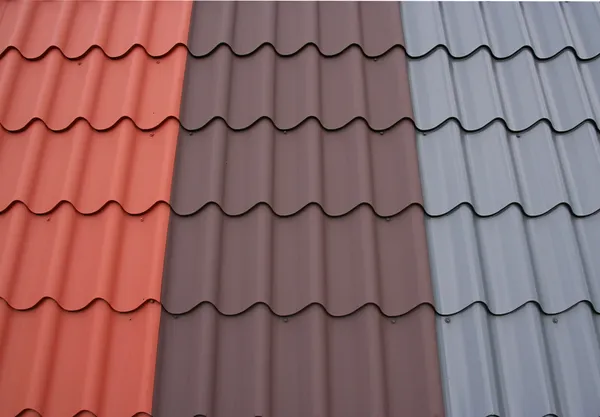
The 5 Best Types of Roof Insulation and Their Pros and Cons
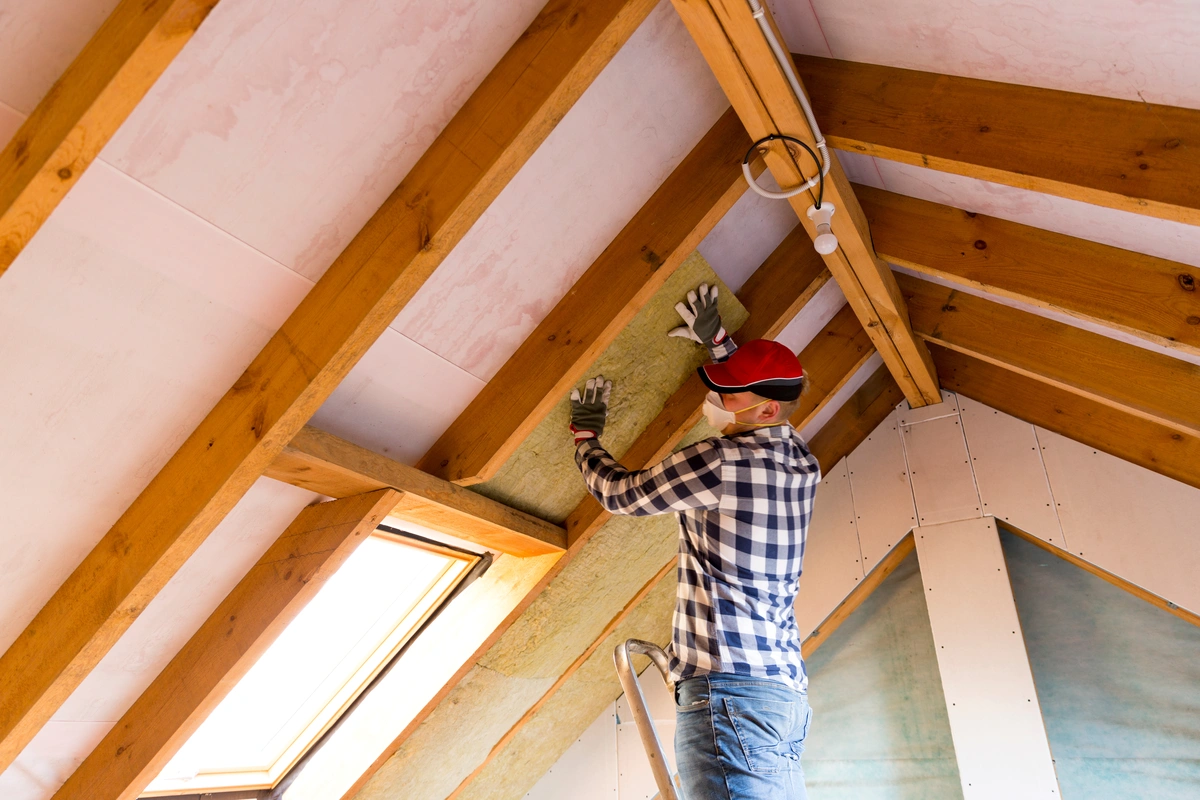
When it comes to roof insulation, several types are available, each with its advantages and disadvantages. Let’s explore the most common options:
1. Fiberglass Insulation
Pros:
- Widely available and cost-effective.
- Resistant to moisture and mold growth.
- Easy to install as rolls or batts.
- Provides good thermal resistance (R-value).
Cons:
- Can be itchy and may require protective clothing during installation.
- Prone to settling over time, reducing effectiveness.
- Not as eco-friendly as some other options.
2. Cellulose Insulation
Pros:
- Made from recycled paper, making it an eco-friendly option.
- Excellent at blocking air infiltration.
- Fire-resistant due to added fire retardants.
- Great for retrofits as it can be blown into existing cavities.
Cons:
- Susceptible to moisture damage if not installed correctly.
- Requires professional installation for optimal results.
- May settle and lose some R-value over time.
3. Spray Foam Insulation
Pros:
- Provides superior insulation and air sealing.
- Expands to fill gaps and voids, reducing air leakage.
- High R-value, ensuring excellent thermal resistance.
- Deters pests and insects.
Cons:
- Requires professional installation due to the use of specialized equipment.
- More expensive than other insulation types.
- Can release harmful chemicals during installation if not properly ventilated.
4. Polyurethane Insulation
Pros:
- Offers excellent thermal insulation.
- Suitable for both new construction and retrofit projects.
- Resistant to moisture and mold growth.
- Can be applied as a spray foam or rigid board.
Cons:
- Requires professional installation.
- Higher upfront cost compared to traditional insulation.
- May release harmful chemicals during installation.
5. Radiant Barrier Insulation
Pros:
- Reflects radiant heat, making it effective in hot climates.
- Can be installed in attics and under roofing materials.
- Low maintenance and long-lasting.
- Reduces heat transfer into your home.
Cons:
- Less effective in colder climates.
- Works best in combination with other insulation types.
- Requires proper installation to be effective.
The Cost to Install New Insulation
The cost of installing new roof insulation can vary significantly depending on factors such as the insulation type, your location, and the size of your home. As a rough estimate, here are some average costs:
- Fiberglass insulation: $1.00 – $1.50 per square foot.
- Cellulose insulation: $1.50 – $3.00 per square foot.
- Spray foam insulation: $2.00 – $3.50 per square foot.
- Polyurethane insulation: $2.50 – $4.00 per square foot.
- Radiant barrier insulation: $0.50 – $2.00 per square foot.
It’s essential to consult with insulation professionals for accurate quotes tailored to your specific needs. Keep in mind that while some insulation types may have a higher upfront cost, they can lead to significant energy savings over time, offsetting the initial investment.
Learn More About Insulation Materials
Roof insulation is a crucial aspect of home comfort, energy efficiency, and environmental responsibility. Recognizing the signs of improper insulation and choosing the right type for your needs can make a substantial difference in your quality of life and long-term savings. Consider consulting with insulation experts to determine the best insulation solution for your home and enjoy the benefits of a well-insulated roof year-round.
Ready to keep your home safe and warm? Contact Trojan Roofing today to get started!