
There’s no question that your roof is your home’s first line of defense against the elements, and when it’s compromised, quick action is essential to prevent further damage. Whether a storm has caused sudden damage or you’ve noticed a pesky leak, this step-by-step guide will help you navigate every emergency roof repair like a champ.
What you’ll get from this blog:
- 11 DIY steps for handling emergency roof repairs in a pinch
- When to call in the pros for roofing help
- Tips for insurance claims process for roof damage
Keep reading to discover the right steps to take the next time you find yourself in need of tackling some emergency roof repairs to keep your home safe!
Step #1 – Take the Right Safety Measures ✅
Before tackling any roof repair, prioritize safety. Ensure you have sturdy footwear with good traction and use a safety harness if you’ll be working on a steep roof. Don’t forget to check the weather forecast; you don’t want to be caught in a storm while making repairs.
Step #2 – Gather Your Tools 🧰
As cool as it would be, you can’t fix a roof with only your bare hands! Here’s a list of the essential tools and materials you’ll need for the repair project.
- Roofing nails
- Roofing cement or sealant
- Tarp
- Hammer
- Pry bar
- Safety goggles
- Gloves
- Ladder
Step #3 – Assess the Damage 👀
Identify the source of the problem. Is it a missing shingle, damaged flashing, or a leak around a vent or chimney? Knowing the issue’s location will help you plan your repair and ensure that you address the root cause of the roofing problem effectively.
Step #4 -Tarping the Roof 🏗️
If you have a damaged or missing section of your roof, tarping can provide immediate protection. Here’s how:
- Securely nail or staple the tarp over the damaged area.
- Extend the tarp past the damaged section and over the ridge of the roof.
- Use bricks, sandbags, or boards to weigh down the tarp and keep it in place.
Step #5 – Seal Small Leaks with Roofing Cement 💧
Roofing cement can be handy for sealing small leaks or cracks. Read the below tips to see how you can properly seal leaks so they’re watertight, literally!
- Clean the area around the leak thoroughly.
- Apply roofing cement generously, covering the damaged area and extending a few inches beyond it.
- Press the roofing cement down firmly to create a tight seal.
Step #6 – Clear Gutters and Downspouts 🍂
Clogged gutters and downspouts can exacerbate roofing problems, leading to water infiltration and potential structural damage. Use a ladder and gloves to safely remove debris and ensure proper drainage, preventing water from accumulating and causing further issues.
Regular maintenance of your gutters and downspouts can significantly extend the lifespan of your roof.
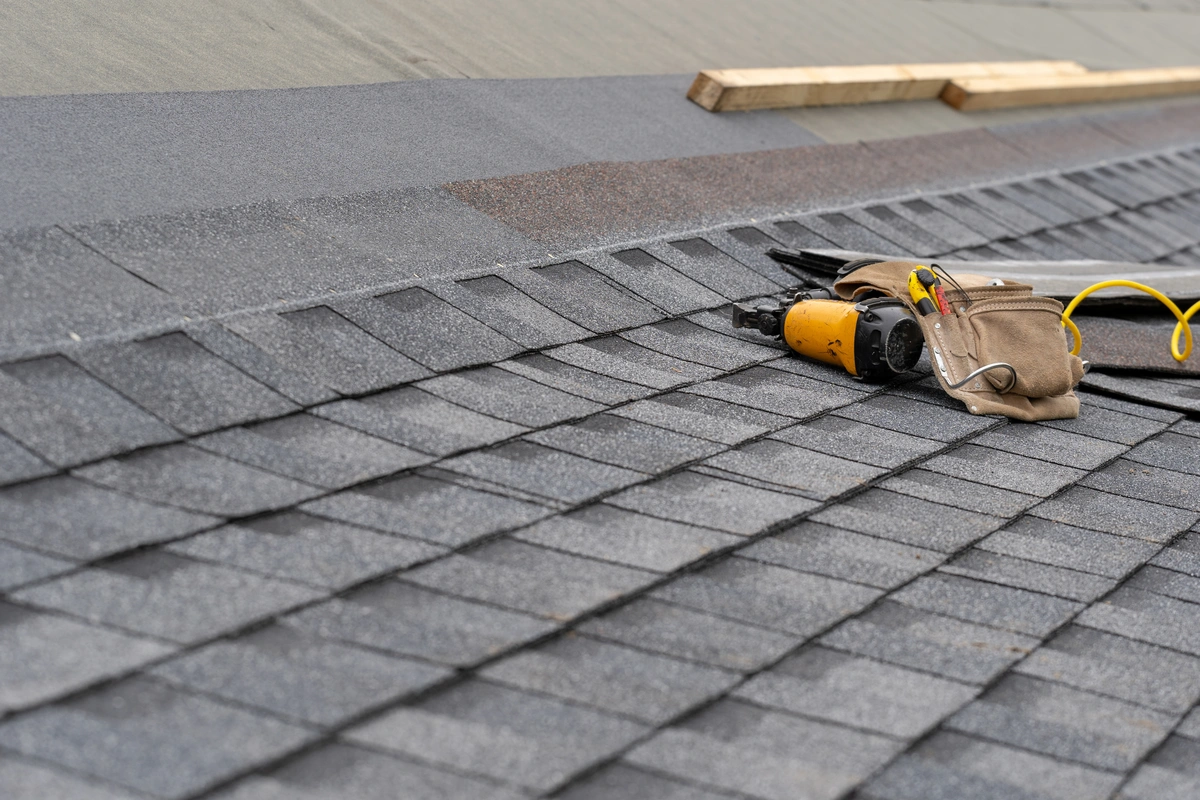
Step #7 – Temporary Patch with Shingles 🏡
If you have spare shingles, you can use them for a temporary fix. Follow the below tips to patch with shingles effectively.
- Carefully lift the damaged shingle(s) and remove any roofing nails.
- Slide the new shingle(s) into place and secure them with roofing nails.
- Seal the edges of the new shingle(s) with roofing cement.
Step #8 – Repair Roof Flashing 🏚️
If you notice damaged or missing flashing around chimneys or vents, you can temporarily patch it–here’s how:
- Clean the area and remove any old caulk or roofing cement.
- Apply new roofing cement to seal the gap or secure the flashing in place temporarily.
Step #9 – Inside Inspection 🕵️
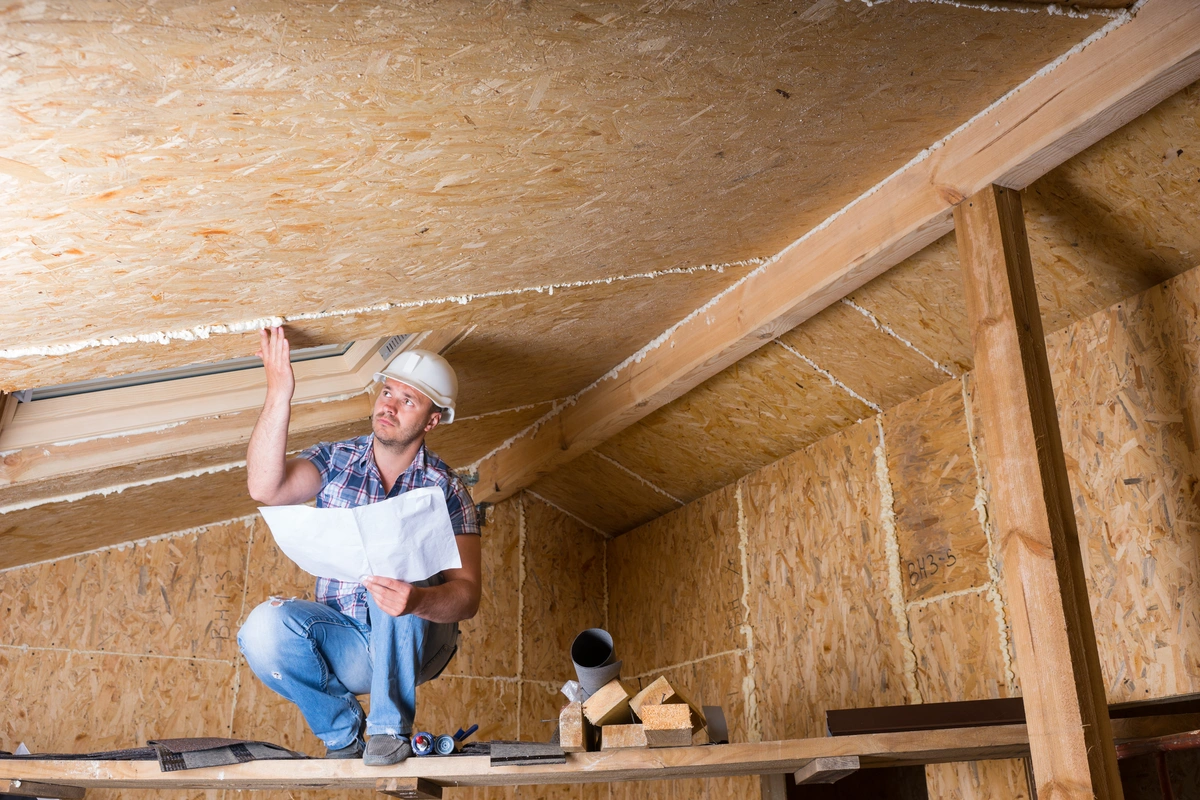
Checking the inside of your home is a crucial step in assessing the extent of roof damage. Here’s what you should do:
- Inspect the Attic: Head up to your attic with a flashlight. Look for signs of water infiltration, such as damp insulation, discolored wood, or water stains on the ceiling. Follow any water trails you find to their source, as they can lead you to the specific area of the roof where the damage occurred.
- Check the Ceiling: Examine the ceilings in your home, paying close attention to any water spots, discoloration, or peeling paint. These are clear indicators of a roof leak and can help you identify the affected areas.
- Measure the Damage: Use a measuring tape to record the size and location of any visible damage, such as water stains or wet spots. This information can be useful when discussing repairs with professionals or your insurance company.
Step #10 – Contact a Professional 👷
While emergency repairs are essential to prevent immediate damage, they are not a substitute for professional assessment and permanent fixes. Here’s why you should reach out to a roofing expert:
- Ensure Safety: Professional roofers are trained to work safely at heights and have the right equipment for the job. Your safety should be a top priority, and roofing experts are best equipped to handle dangerous situations.
- Assess Extent of Damage: Roofing professionals can provide a thorough evaluation of your roof’s condition. They can identify hidden issues that may not be apparent during DIY inspections.
- Permanent Solutions: Temporary repairs can only do so much. Professionals can recommend and execute long-lasting solutions tailored to your specific roofing problem.
- Warranty and Insurance: Reputable roofers often provide warranties for their work, giving you peace of mind. Additionally, they can help navigate insurance claims and ensure you receive fair compensation for repairs or replacements.
Step #11 – Document the Damage 📸
Capturing visual evidence of the damage is essential, both before and after your emergency repairs. Here’s how to document it effectively:
- Before Repairs: When you first discover the damage, take clear and comprehensive photos or videos of the affected areas. Ensure good lighting and capture close-ups to clearly depict the extent of the damage.
- During Repairs: Document the temporary fixes you apply during the emergency repair process. This can include shots of tarps, sealed areas, or patched shingles. These photos help establish a timeline and show your proactive efforts to mitigate further damage.
- After Repairs: Once professional repairs are complete, document the finished work. Highlight the quality of the repairs and how the roof looks after restoration.
- For Insurance Claims: Photos are crucial when dealing with insurance claims. They provide concrete evidence of the damage and the steps taken to address it. Share this visual documentation with your insurer to expedite the claims process and ensure fair compensation.
Patch Up Your Roof Like a Real Pro
Emergency roof repair can be a homeowner’s lifesaver during unexpected weather events or roofing issues. Remember that these are temporary solutions to prevent further damage. Professional repairs are necessary for a long-term fix. Stay safe, be prepared, and take action promptly to protect your home and investment.
Contact the expert roofers at Trojan Roofing today. We’ll happily answer your questions and address any concerns you have about roof repairs, and give ya a free estimate while we’re at it!